Table of Contents
What Does It Mean to Be Blacklisted?
Best Tools to Check If Your Domain Is Blacklisted
How to Check If Your Domain Is Blacklisted (Step by Step)
Common Reasons Domains Get Blacklisted
How to Remove Your Domain from a Blacklist
How to Prevent Getting Blacklisted Again
How Cleverly Protects Deliverability in Cold Email Campaigns
Conclusion
Frequently Asked Questions
Modified On :
August 24, 2026
Key Takeaways
- A blacklisted domain doesn't mean you're banned forever. It's a reputation flag tied to a specific issue, and it clears once you fix the actual cause, not just the symptom.
- No single tool checks every blocklist. Run your domain through at least two sources, since Spamhaus, Barracuda, and Gmail's own system all track different things.
- Domain and IP reputation are separate. On shared sending infrastructure, your domain can be clean while the IP you're sending from is the one causing bounces.
- Delisting only sticks if you fix the root cause first. Submitting a removal request while the underlying problem (bad auth, dirty list, compromised account) is still active usually gets rejected or reverses within days.
- A clean blacklist check is not the same as good deliverability. Gmail runs its own internal reputation system, so passing every public blocklist check doesn't guarantee inbox placement.
Reply rates fall off a cliff, open rates go quiet, and nobody can figure out why the copy that worked last month suddenly doesn't. Nine times out of ten, it's not the copy. It's the domain.
Domain and IP blacklisting is more common than most senders realize. Around 4% of sending IPs and 0.3% of domains sit on at least one blacklist at any given time, according to Unspam benchmark data, and a single listing can quietly tank inbox placement for weeks before anyone notices.
The stakes are only getting higher: median inbox placement in 2026 ranges from 86% to 92% depending on industry, and the gap between those numbers translates directly into how many prospects actually see your emails.
This guide covers what blacklisting actually means, the best tools to check your domain right now, why domains end up listed in the first place, and the exact steps to get delisted and stay off blocklists for good.
If you're sending cold email, marketing email, or transactional email and you've noticed a sudden deliverability drop, this is for you.
What Does It Mean to Be Blacklisted?
Being "blacklisted" means your domain or sending IP has been added to a DNS-based blocklist, often called a DNSBL. These lists are maintained by third-party organizations like Spamhaus, Barracuda, and SpamCop, and mail servers check against them before deciding whether to accept your email.
Here's the part most senders miss: getting listed isn't a permanent verdict. It's a reputation flag. Once you resolve whatever triggered it, most lists remove you, some automatically and some through a request process.
It's Not One List, It's Many
Different blocklists track different problems:
- Spam source lists flag IPs or domains that send unsolicited bulk email.
- Exploit lists flag compromised servers, malware-infected machines, and open proxies.
- Policy lists flag IP ranges that shouldn't be sending mail directly at all, like residential or dynamic IPs.
A single domain can appear on one list and be completely clean on another, which is exactly why checking just one source gives you an incomplete picture.
The Gmail Exception
This is worth calling out directly: Gmail runs its own internal reputation system, separate from public blocklists. You can pass every public DNSBL check and still land in the Gmail spam folder because Gmail is scoring your domain against its own engagement, complaint, and authentication signals.
A clean email blacklist checker result tells you about public blocklists. It doesn't tell you how Gmail sees you.
📧 Off the Blacklist. Into the Inbox.
Our cold email campaigns focus on deliverability, clean data, and personalization to generate 15–30 qualified meetings every month.
Best Tools to Check If Your Domain Is Blacklisted
The smartest approach here is checking multiple lists, not just one. Different domain blacklist checker tools cover different blocklists, and no single tool gives you complete coverage.
Quick Comparison Table
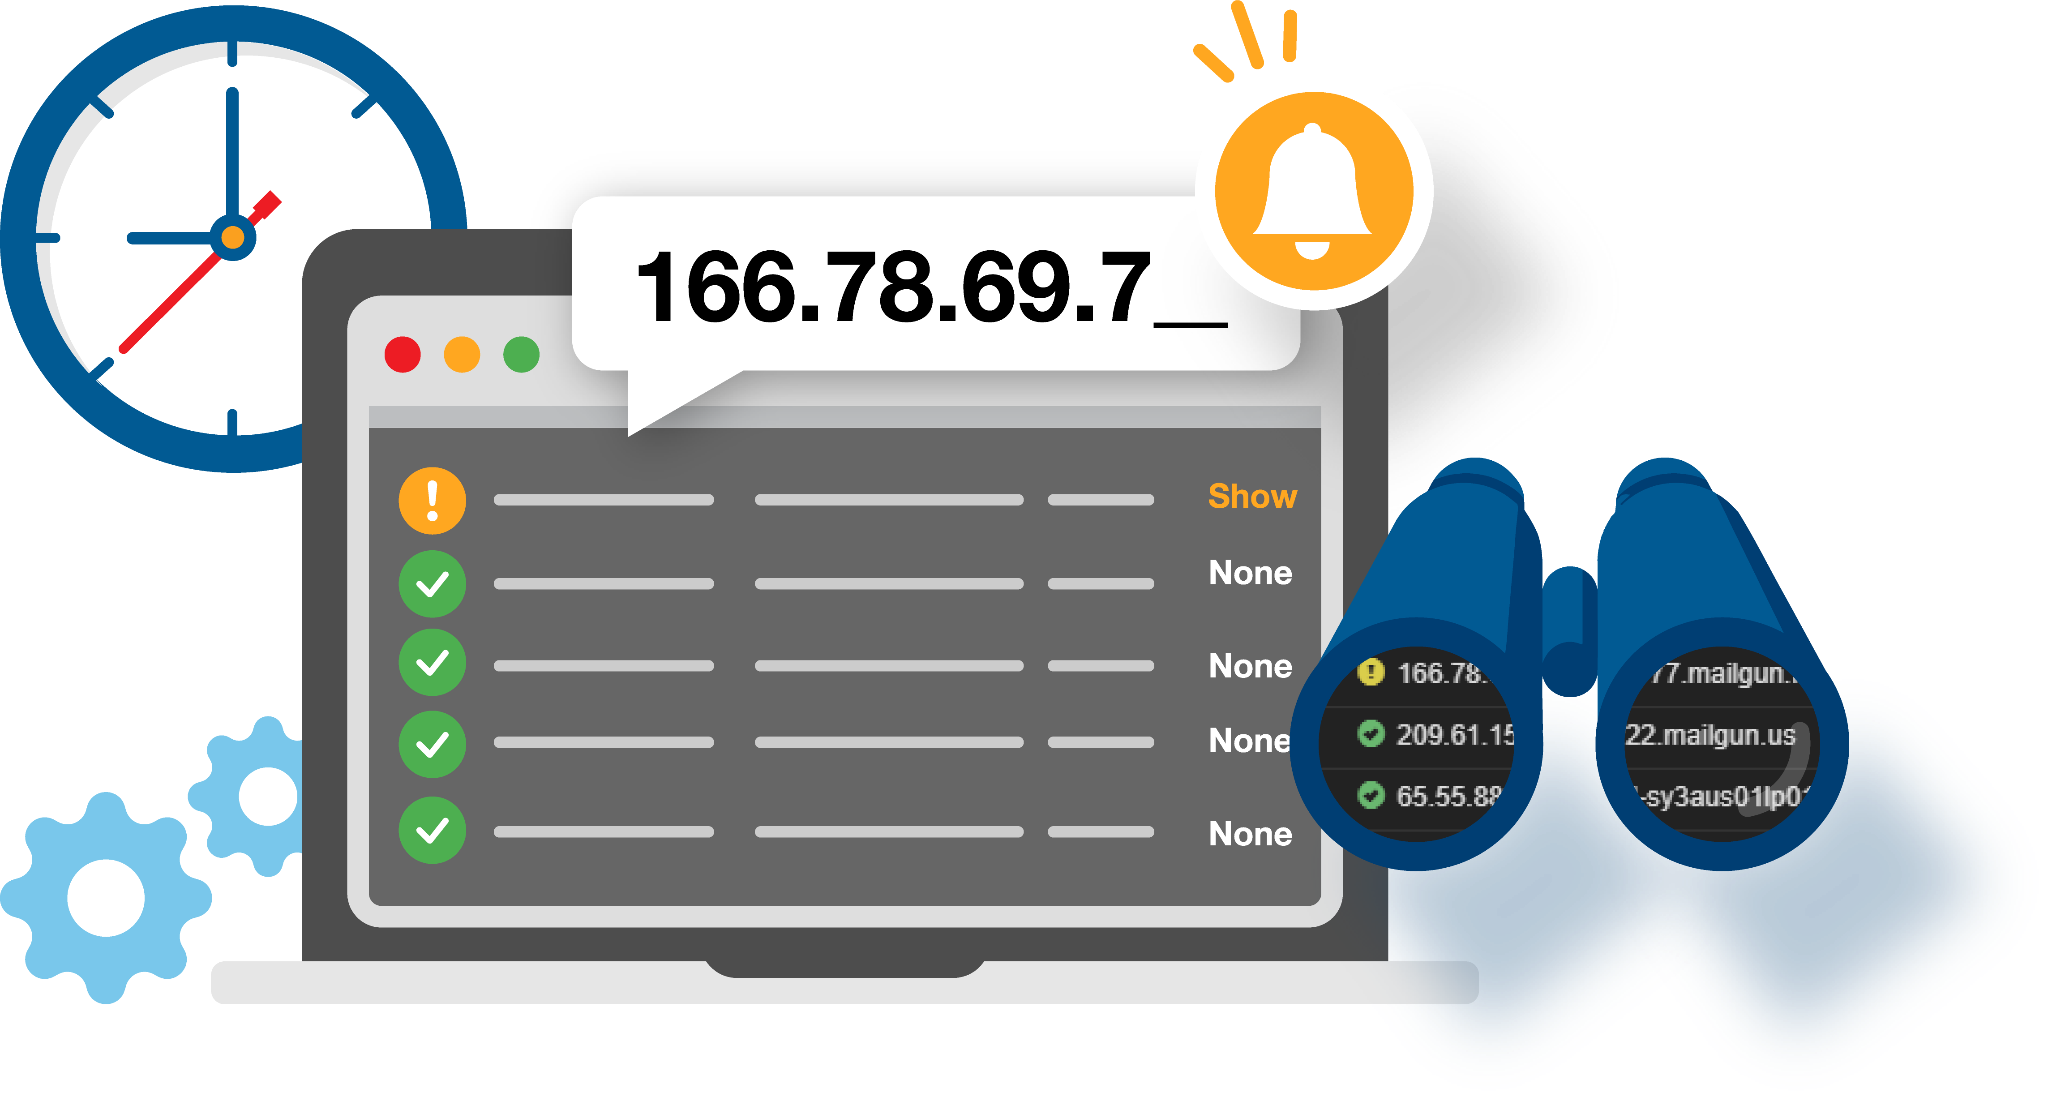
1. MXToolbox — Best All-in-One Blacklist and DNS Checker
Best for: Anyone who wants the broadest possible check in one place, across major and minor blocklists.
Key features:
MXToolbox includes unlimited DNS lookups, MX record checks, blacklist checks, SMTP diagnostics, and email authentication verification on its free tier. On the free tier, you get access to one monitor covering the top 30 blacklists, with paid plans unlocking more monitors and deeper blacklist coverage. It also functions as a broader diagnostic suite, so you can check MX records, SPF, and DMARC from the same tool.
Limitations: The free tier is built for one-off checks, not ongoing monitoring. Paid plans, starting around $19/month, add continuous monitoring and alerts.
Pricing: Free for single lookups, Delivery Center - $129/month (Inbox Placement Analysis: 30 per month) , Delivery Center Plus - $399/month (Inbox Placement Analysis: 100 per month)
2. Spamhaus Check — Best for Confirming and Resolving Spamhaus Listings
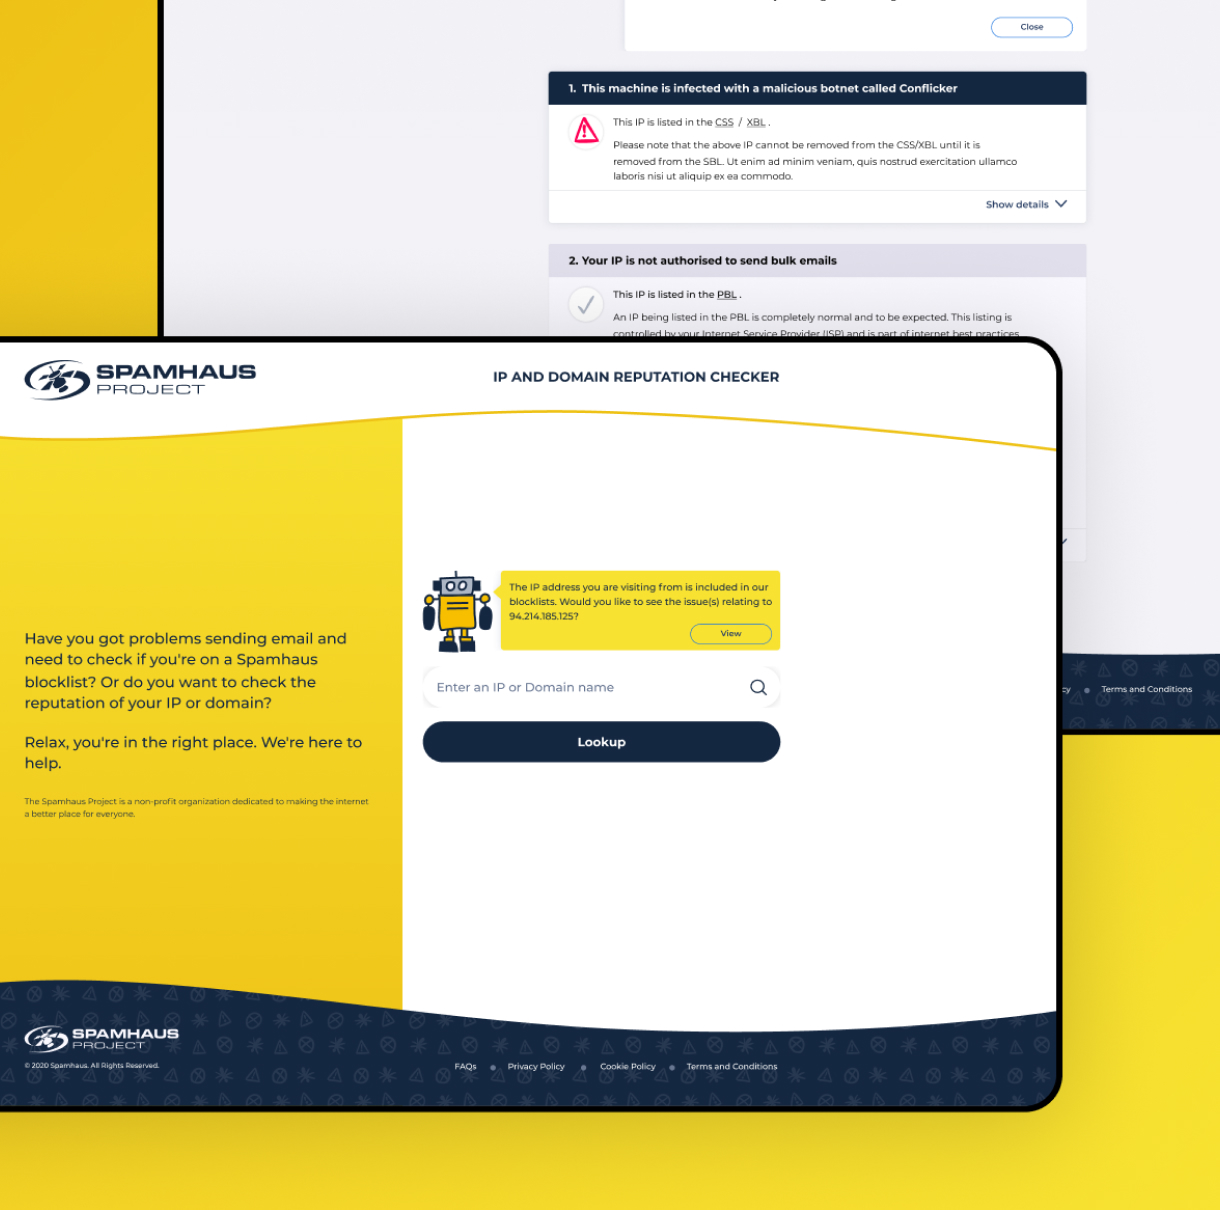
Best for: Confirming status specifically on Spamhaus, arguably the single most consequential blocklist for mail delivery since Gmail, Microsoft 365, and Yahoo all use Spamhaus data, directly or indirectly, to filter spam.
Key features: Running your IP through Spamhaus's official lookup tool at check.spamhaus.org tells you whether you're listed, which specific sub-list you're on (SBL, XBL, PBL, or SBLCSS), and the removal process for that list. It also doubles as your entry point for submitting a delisting request once you've fixed the issue.
Limitations: It only checks Spamhaus's own lists. You'll want to pair it with a broader tool for full coverage.
Pricing: Free for low-volume, non-commercial use, but requires custom paid annual subscriptions for commercial or high-volume purposes.
3. MailTester.Ninja — Best Fast, No-Signup Check
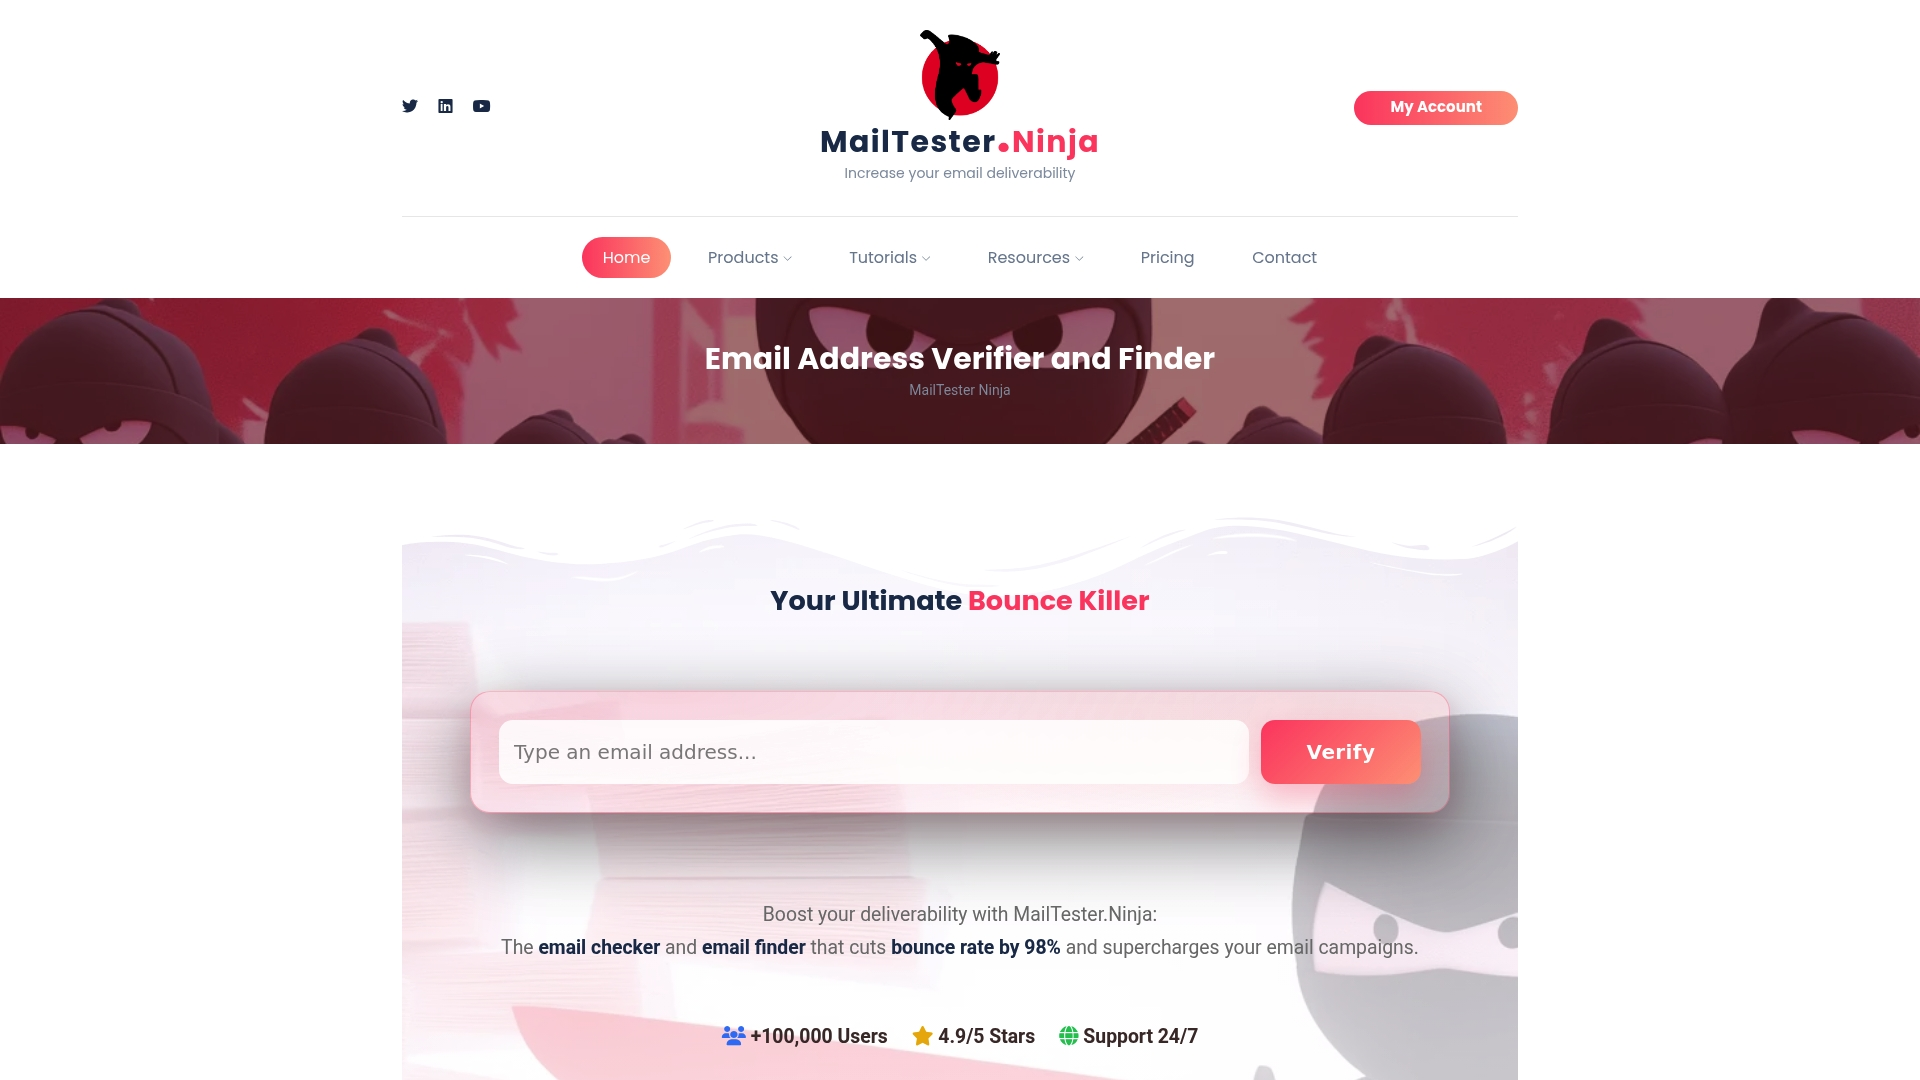
Best for: A quick spot-check when you just need a fast yes-or-no answer without creating an account.
Key features: Checks against Spamhaus, SpamCop, and Barracuda — three of the blocklists most likely to actually affect your mail flow — in a simple, no-friction interface.
Limitations: No monitoring or alerting. It's purely a one-time lookup.
Pricing: Free Tier: $0, Starter Plan: $6.99 per week for up to 50,000 emails, Pro Plan: $16.99 per month for up to 100,000 emails, Ultimate Plan: $49.99 per month for up to 500,000 emails.
4. Cleanlist — Best for Checking Domain, Email, or IP in One Tool
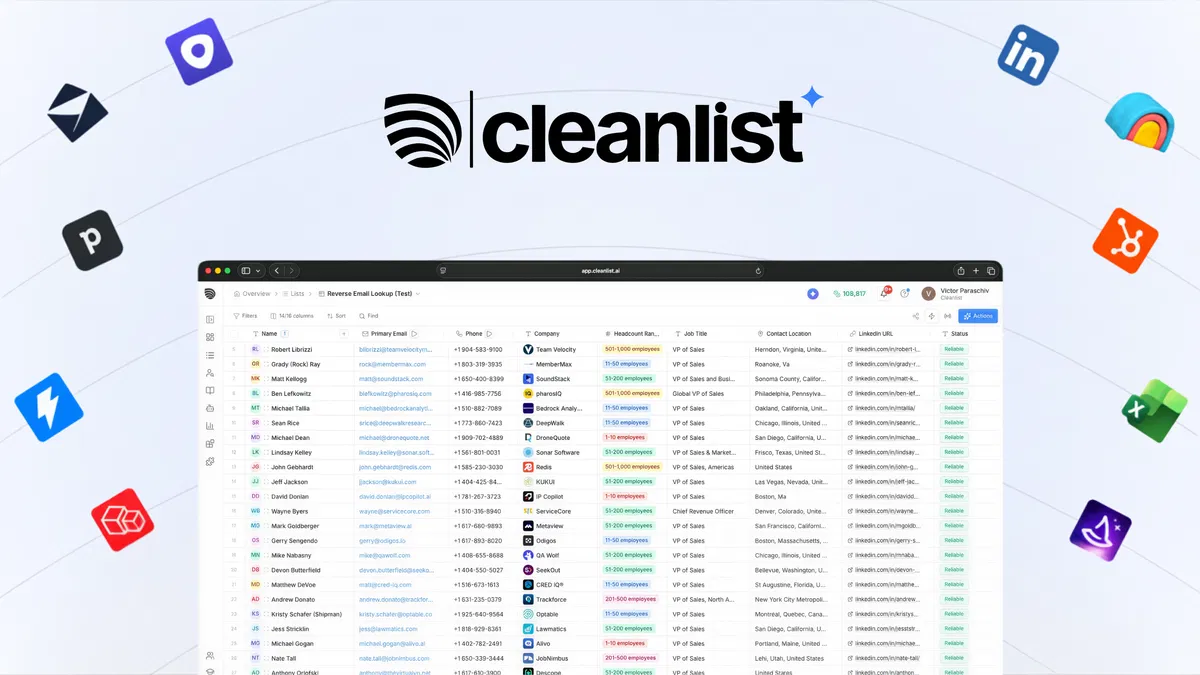
Best for: Users who want the flexibility to check by domain, a specific email address, or an IP without switching tools.
Key features: Checks against 9 widely used public DNSBLs, including Spamhaus ZEN, SpamCop, and Barracuda, and accepts multiple input formats rather than forcing one.
Limitations: Solid coverage, but narrower than MXToolbox's broader list.
Pricing: Credit-based pricing model. Free: $0 per month for 30 credits, Starter: $79 per month for 1,500 credits, Pro: $229 per month for 5,000 credits, Scale: $599 per month for 15,000 credits.
5. Google Postmaster Tools — Best for Gmail-Specific Reputation
Best for: Anyone sending meaningful volume to Gmail addresses who wants visibility into how Gmail specifically sees their domain.
Key features: Worth knowing before you log in: Google retired the old High/Medium/Low domain reputation dashboard in Postmaster Tools v2. It's been replaced with a Compliance Status dashboard built around Gmail's bulk sender requirements, tracking spam rate, authentication, and encryption instead. The tool flags a recommended spam rate below 0.1% and a critical threshold at 0.3%.
Limitations: It's Gmail-only, it needs roughly 200+ daily emails to Gmail recipients to show consistent data, and it tells you nothing about Outlook or Yahoo.
Pricing: Free.
How to Check If Your Domain Is Blacklisted (Step by Step)
If you want to check if email is blacklisted right now, here's the actual sequence:
Step 1: Run a multi-blacklist lookup. Start with a tool like MXToolbox for the broadest single-pass coverage across dozens of lists at once.
Step 2: Identify exactly which list flagged you. This matters more than people think. Spamhaus alone has multiple component lists — SBL for confirmed spam sources, XBL for exploited or malware-infected hosts, and PBL for IP space that shouldn't be sending mail directly — and each one points to a completely different fix.
Step 3: Check your domain and IP separately. On shared sending infrastructure, your domain can be perfectly clean while the IP is the one that's listed, or the reverse. Checking only one side of that equation is how issues get missed.
Step 4: Cross-check Gmail-specific reputation. Run your domain through Google Postmaster Tools too. A clean public blacklist result doesn't mean Gmail is placing your mail in the inbox.
🚀 Better Deliverability. More Pipeline.
With 53,000+ meetings booked and $312M+ in pipeline generated, Cleverly helps 10,000+ businesses turn cold email into predictable revenue.
Common Reasons Domains Get Blacklisted
Almost every blacklisting event traces back to one of these five causes:
Missing or broken authentication. A misconfigured SPF, DKIM, or DMARC record is the single most common root cause of listings and spam filtering in general.
Sending to a dirty list. High bounce rates and spam-trap hits from outdated or unverified addresses are a fast track to a listing. For context, the average bounce rate for B2B emails is 2.33%, and rates significantly above that signal list hygiene problems.
Sudden volume spikes. A brand-new or unwarmed domain suddenly sending high volume looks identical to spam behavior from a mail provider's perspective.
A compromised server or account. If malware or unauthorized access is sending mail without your knowledge, it typically triggers an exploit-based listing like Spamhaus XBL.
High spam complaint rates. A program at 0.12% complaint rate with a trajectory climbing 10% month-over-month is heading for trouble even if the raw number still looks fine. Watch the trend, not just the snapshot.
How to Remove Your Domain from a Blacklist
Fix the root cause first. Delisting requests that go in while the underlying issue is still active get rejected, or worse, your domain gets relisted within days of removal.
Step 1: Fix the Underlying Issue Before Requesting Removal
Close any open mail relay and remove compromised credentials if account takeover caused the listing. Clean your list of unverified, bounced, or long-inactive addresses. Set up or correct your SPF, DKIM, and DMARC records if authentication gaps are the culprit.
Step 2: Submit a Delisting Request to the Specific Blocklist
Go directly to that blocklist's removal center rather than a generic contact form. For Spamhaus, that's check.spamhaus.org. Reference the exact issue you fixed ("corrected SPF/DKIM misalignment, removed compromised sending account") rather than a vague request. Every Spamhaus delisting is free, and any offer to remove a listing for a fee is a scam.
Step 3: Expect Different Timelines by List Type
Timelines vary a lot depending on which list flagged you:
- Self-serve lists like PBL can clear within minutes to hours since PBL removals are self-service for legitimate mail servers and get removed immediately once you fill out the form.
- Exploit-based lists like XBL are largely automated. Once the detection engine no longer sees the IP as compromised, it drops from the list within hours.
- Manually reviewed lists like SBL take longer. Spamhaus manually reviews SBL removal requests and typically responds within 24 to 72 hours.
Step 4: Re-Check After Delisting
Run the multi-blacklist check again 24 to 48 hours after delisting to confirm removal actually took effect across every relevant list. Keep an eye on your status in the following weeks too, especially if you're ramping sending volume back up quickly, since that's a common trigger for relisting.
How to Prevent Getting Blacklisted Again
Prevention is dramatically cheaper than remediation. A few habits go a long way:
- Warm up new domains gradually. Start around 20 to 30 emails a day and increase over weeks. Jumping straight to high volume on a new domain is one of the fastest ways to get flagged.
- Verify your list before every send. Removing invalid, bounced, and disposable addresses before you send prevents most bounce-triggered listings. Teams that keep bounce rates below 2% and complaint rates near zero see 15 to 25% more replies without changing a single word of copy.
- Keep spam complaints below roughly 0.1%. Anything approaching the 0.3% mark is treated as a critical threshold by most major mailbox providers.
- Monitor proactively, not reactively. Check your blacklist status on a regular schedule using the tools above instead of waiting until reply rates drop to investigate.
How Cleverly Protects Deliverability in Cold Email Campaigns
Blacklisting is almost always preventable. Proper authentication, a real warm-up schedule, and consistent list hygiene stop most issues before they ever become a problem, but managing all three well takes ongoing attention most sales teams don't have time for.
As a cold email outreach agency, Cleverly handles domain setup, gradual warm-up, SPF/DKIM/DMARC authentication, and ongoing deliverability monitoring as a built-in part of every campaign we run.
This matters more than it might seem: one blacklisted domain can quietly tank an entire month's results before anyone on your team even notices something went wrong.
Every campaign includes verified list building, proper authentication from day one, a real warm-up curve, and proactive blacklist monitoring rather than a one-time check. It's built for businesses that want cold email running consistently without personally managing the infrastructure behind it.
We've generated $312M in pipeline and $51.2M in closed revenue for clients across LinkedIn and cold email, and deliverability discipline is a big part of why those numbers hold up campaign after campaign.
Want cold email outreach that protects your domain reputation from day one? Book a strategy call with Cleverly.

Conclusion
Checking your blacklist status takes minutes with the right tool, but that's the easy part. Fixing the actual cause behind the listing, whether it's broken authentication, a dirty list, or a compromised account, is what actually resolves the issue for good. Delisting requests only stick once that root cause is genuinely fixed, not just patched over.
A clean email blacklist checker result is necessary, but it's not sufficient on its own. Real deliverability depends on ongoing sending hygiene: consistent warm-up, list verification, and authentication upkeep, not a one-time fix you run once and forget about.
Frequently Asked Questions
Free Resource
How to Scale a Profitable Cold Call System
Get the complete guide — download it instantly now.
Free Ebook
Download the Free Guide
Enter your details to get instant access.
You're all set! 🎉
Your ebook is downloading now.
Click below if the download didn't start automatically.